¶ Unit U1134 file server
ATLAS is a file-sharing server.
In other words, its sole function is to host data securely, and make it accessible to anyone on the laboratory’s local network.
Thus, the file server is only accessible within the laboratory network.
For security reasons, ATLAS is not accessible on Wifi networks (Eduroam, Inserm Invité, Inserm), as is INSERM’s national policy.
ATLAS is accessible from Broussais via VPN.
To access the VPN, go to the VPN page.
Server identification:
Name: ATLAS
IP address**: 10.115.30.8
If it is not visible/accessible with its name “Atlas”, use its IP address.
¶ User names
All users are constructed in the same way:
First letter of your first name + last name
Example:
| First name Last name | User name on ATLAS |
|---|---|
| Gabriel Cretin | gcretin |
| Hubert Bonisseur de La Bath | hbonnisseurdelabath |
| Charles-Antoine Lalumière-Dufour | clalumieredufour |
¶ Changing Your Password
The first thing to do before logging in for the first time is to change your password by following the steps below.
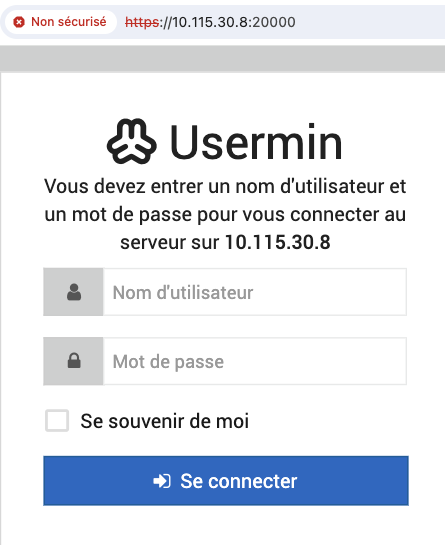 |
Go to the interface: https://10.115.30.8:20000 Proceed despite the certificate warning. Enter your credentials. The default password for all users is: P@ssw0rd |
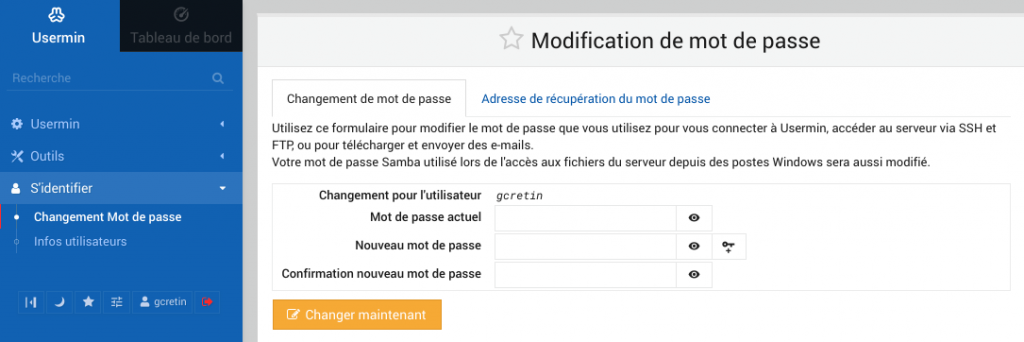 |
Change Your Password |
¶ I Forgot My Password
The functionality to reset the password directly by the user is unfortunately only available in the paid version of the software.
Therefore, instead, please contact me via email: gabriel.cretin@inserm.fr
so that I can reset it to P@ssw0rd for you to change it yourself as if it were your first password (see the section above Changing Your Password).
¶ How to Access It?
This section provides the steps to access the ATLAS file server from a computer.
Open File Explorer and select This PC from the left pane. Then, in the Computer tab, select Map network drive.
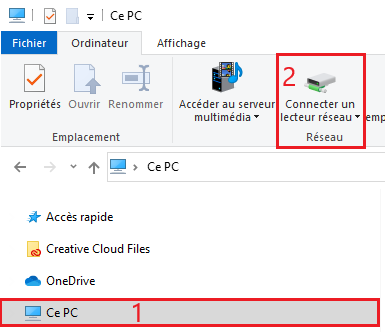
In the Drive list, select a drive letter (any available letter will do).
In the Folder box, type the address to the server: \\10.115.30.8.
Then, click on Browse.
.png)
By clicking on 10.115.30.8 you will be asked for your credentials.
You can choose to remember them for easier connections in the future.
Then, you will see all possible mount points.
You will only be able to access those to which you belong.
You will also only see your personal directory.
Select OK and then Finish.
.png)
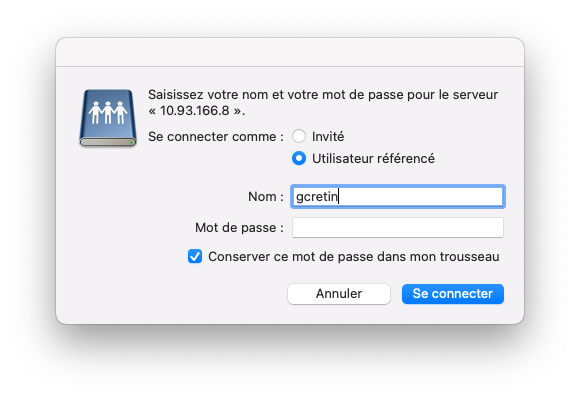
From Finder, click on Go and then Connect to Server.
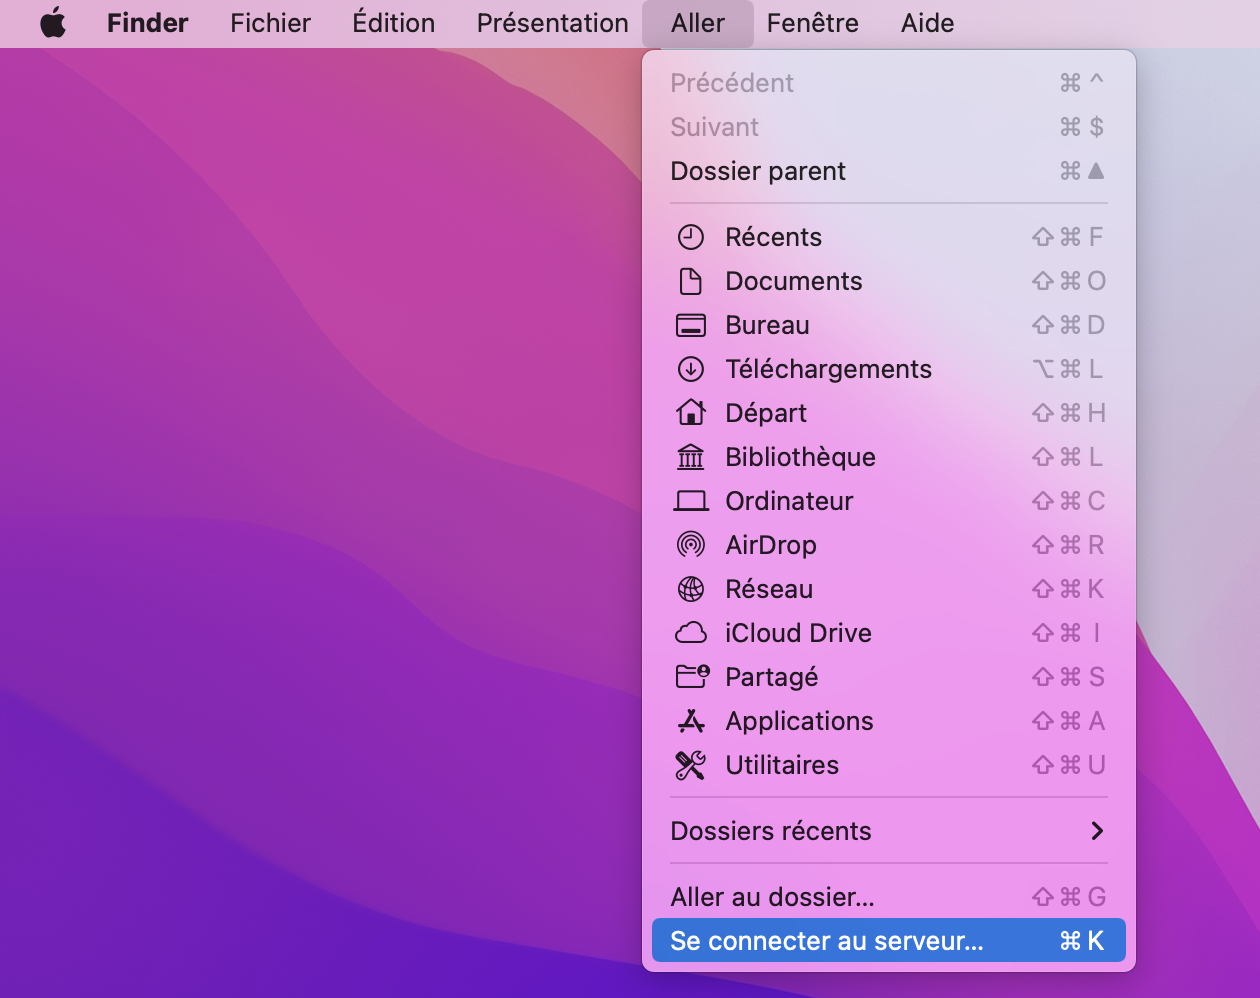
Simply enter the server address: smb://10.115.30.8.
Or add a mount point corresponding to one of the accessible folders on ATLAS like this: smb://10.115.30.8/Commun.

Authenticate yourself as a registered / referenced user with your login credentials.
You can choose to keep the password in the keychain so it remembers you on the next connection.
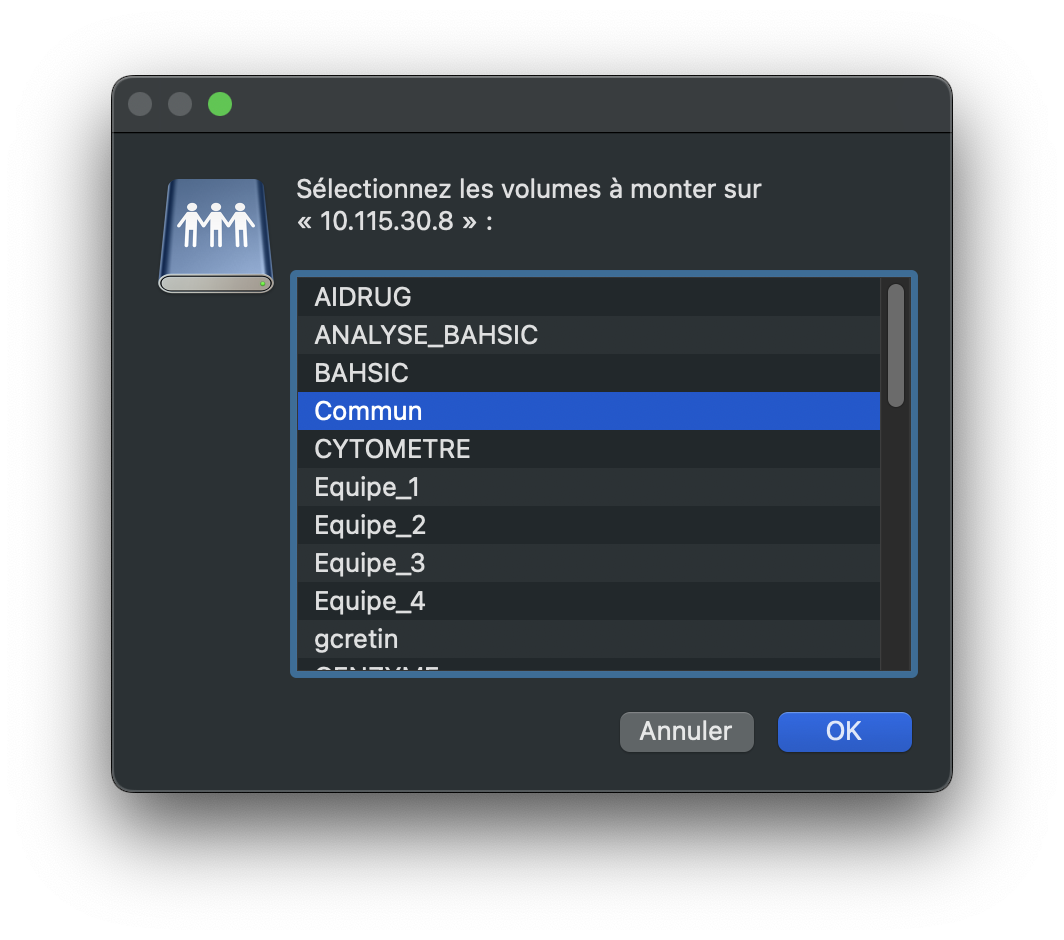
If you do not specify a particular mount point, a window will prompt you to choose from a list.
You will only be able to enter those you belong to.
If you cannot connect to a mount point when you should (you are part of the group/team in question), contact me and I will add you.
Required dependency:
sudo apt install cifs-utils
¶ Using the file browser (Nautilus)
Click on the Other Locations tab at the bottom left of the window, then in Connect to Server specify the address of the share folder you want to mount (personal directory or other shared folder among those available).
On DSIMB’s Ubuntu lab machines, “atlas” will be recognized.
Otherwise, you should use its IP address: 10.115.30.8.

Authenticate as a Registered User.
Enter your credentials leaving WORKGROUP as the default domain.
You can request that your credentials be saved for faster future connections.

¶ Command Line
To mount an ATLAS directory on your local machine, first create the final mount point on your local machine:
mkdir -p /path/to/<local_folder>
Then mount the directory (please use this syntax precisely, otherwise you may encounter permission issues):
sudo mount -t cifs -o username=<atlas_username>,uid=<local_username> //10.115.30.8/srv/samba/share/<folder_on_atlas> /path/to/local_folder
With:
<atlas_username> = your username on ATLAS.
<local_username> = your username on your local machine.
<folder_on_atlas> = the name of the folder on ATLAS to mount from those available (see Available Directories below).
¶ Features
Name: ATLAS (because it carries the knowledge of the entire Unit!)
Total Storage Space: 200 TB (16 disks)
Loss Capacity: 2 disks ~25 TB (this means that at worst, there can be a failure on 2 hard disks at the same time, without any data loss)
Available / Usable Storage Space: 175 TB
¶ Organization
¶ Personal Directories
Users who have an account on the server each have a personal space secured by a personal password.
¶ Specific Directories
The unit is divided into several groups and work teams.
Each user is associated with the groups they have the right to access.
Common directories for these groups have been created.
This means that, for example, only users belonging to the SWG1 group will be able to access, view, and modify the SWG1 directory.
The same goes for directories common to each of the teams, etc.
A Common directory has also been created to share documents for all users of the 4 teams. All users have access to it by default.
¶ Controlled Access
Access to directories is controlled by a system resembling a key/lock system.
Each user is associated with groups, which is akin to a keychain, and the server allows you to enter a folder only if you have the appropriate key (the groups you belong to).
¶ Quotas
All users have a disk quota of 500 GB in their personal directory, associated with their own username only.
Group directories have a quota of 3 TB each, shared by all users who are members of the group and therefore not associated with a specific user (i.e., files in these directories are associated with groups, not users).
¶ Available Directories
¶ Common Directories (everyone has default access):
- Commun
- SALLE_DE_REUNION
- CYTOMETRE
- STOPPED-FLOW
¶ Personal Directory
- Username
¶ Segregated Directories (only available for authorized users)
- Plateforme
- Equipe_1
- Equipe_2
- Equipe_3
- Equipe_4
- SWG1
- SWG_2_FRANCO
- SWG_2_COLIN
- SWG_4_MOURO_CHANTELOUP
- SWG_4_OSTUNI
- SWG5
- GR_Alioune
- GR_Pascal
- GR_Pierre
- GR_Roussel
- GR_Sylvain_Gael
- GREX_SMALP
- SYNERY
- AIDRUG
- GENZYME
- MD_DATABASE
- MAC_SPLEEN
- ANALYSE_BAHSIC
- BAHSIC
- PAMS
¶ Backups
Given the server’s capacities and users’ storage needs, a backup system has been set up.
As long as space on the server allows, the following will be available:
- 1 full system backup (snapshot) (performed once a week)
- 6 incremental backups (1 incremental backup per day)
In practice, there will be 1 week of secured backups. Depending on server usage and available capacities, these elements may be subject to change.
If you need to recover files, please contact Gabriel Cretin (gabriel.cretin@inserm.fr) specifying:
- Which file(s)/folder(s) need to be recovered
- On what date they need to be recovered